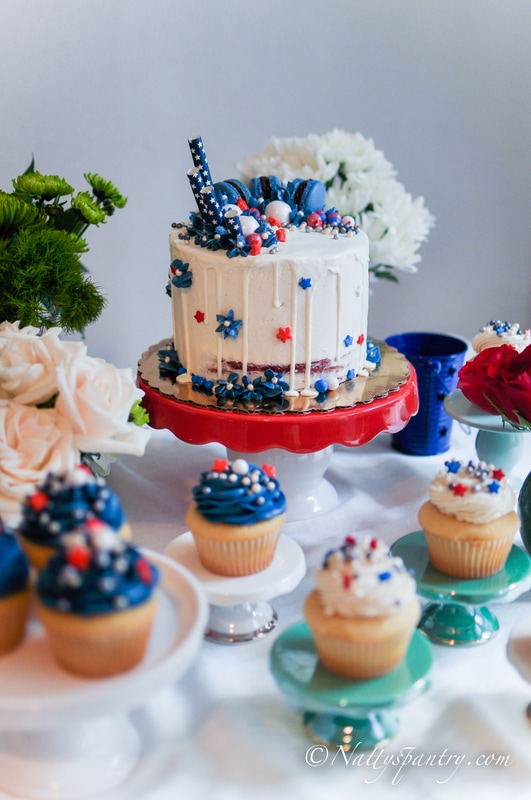
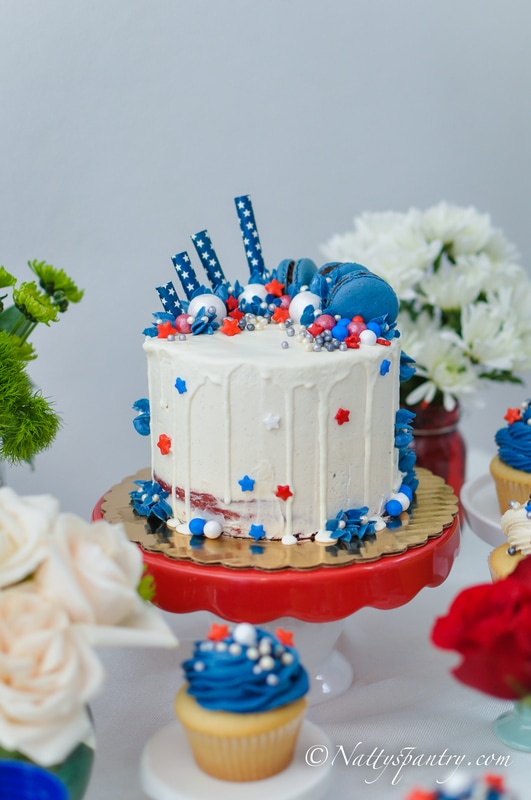
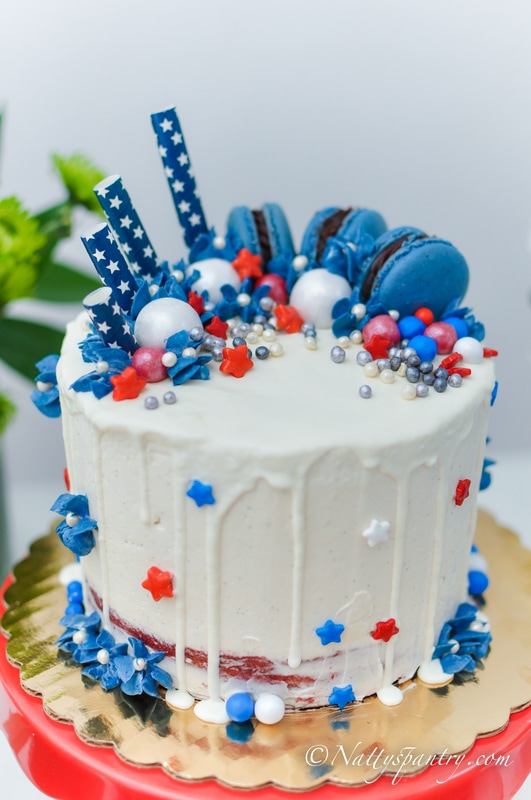
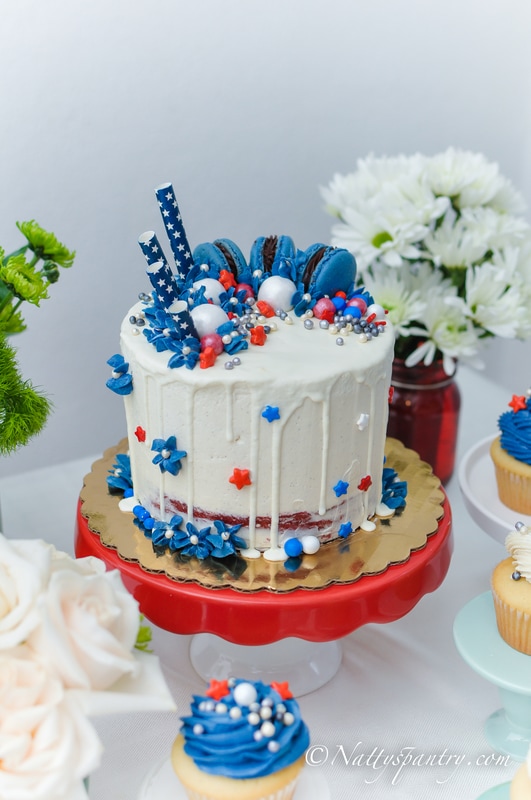
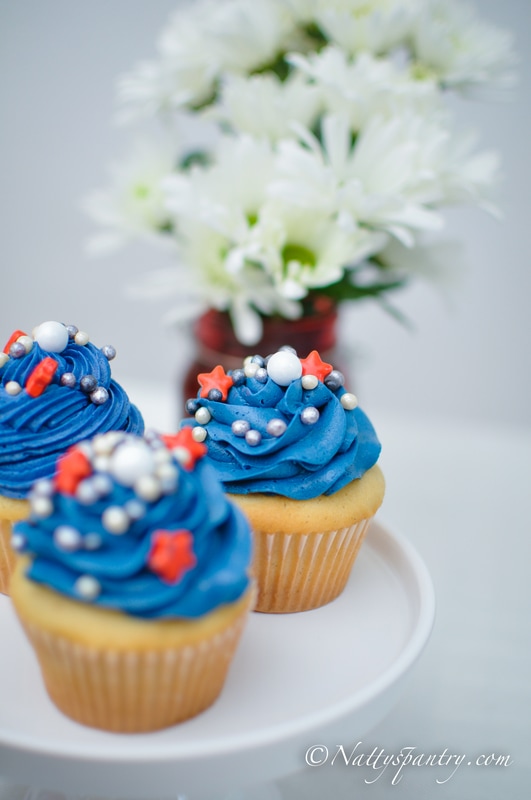
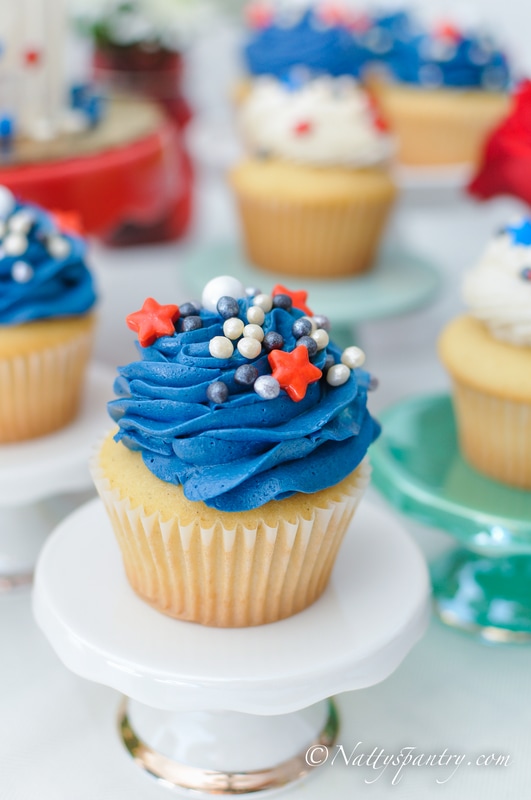
No Independence Day is complete without a bright red, white, and blue treat! Celebrate America’s birthday with this 4th of July Red Velvet Cake Recipe. This cake treat will complete any July 4th party along with the fireworks!
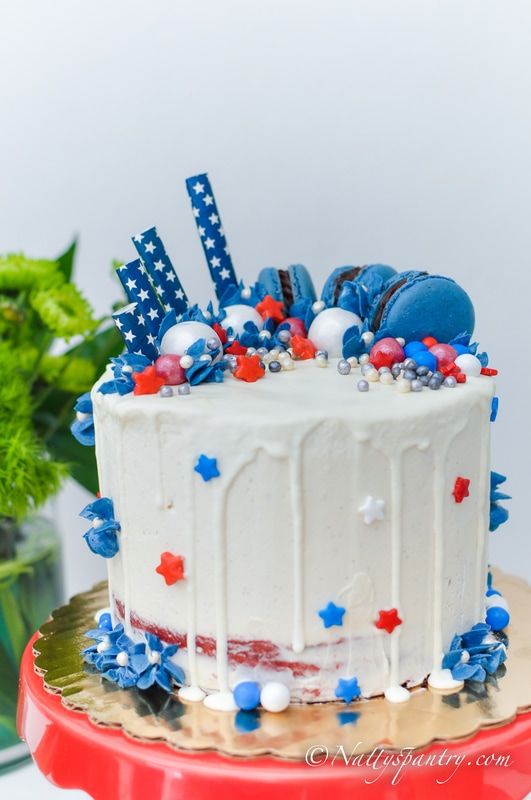
This particular recipe for Red Velvet cake is from cakemerchant.com . The bright red and blue colors really pop in this recipe because it contains less cocoa powder. I also made cream cheese frosting to add the white color and then decorated the cake with some more fun blue and red coloring to complete the 4th of July theme. You can also add some chocolate chips in between layers to add more texture and flavor. This recipe makes a 2 or 4 layer 6-inch round cake. I separate the cake batter into two parts, then mix each batter with two different food color gels. When you are building the cake, alternate between placing the red and blue layers and spreading each one with the cream cheese frosting before placing the next layer on top. This recipe is great for any celebrations like birthdays, anniversaries, etc. If you don't want two different colors, simply add one single red food gel coloring mix into the batter or use whichever color you prefer. This cake can be made up to one week in advance if kept in an airtight container covered in plastic wrap and stored in the refrigerator. I hope you all have a great long holiday weekend with your friends and family. Also, Thank you for stopping by and reading my article. Natty 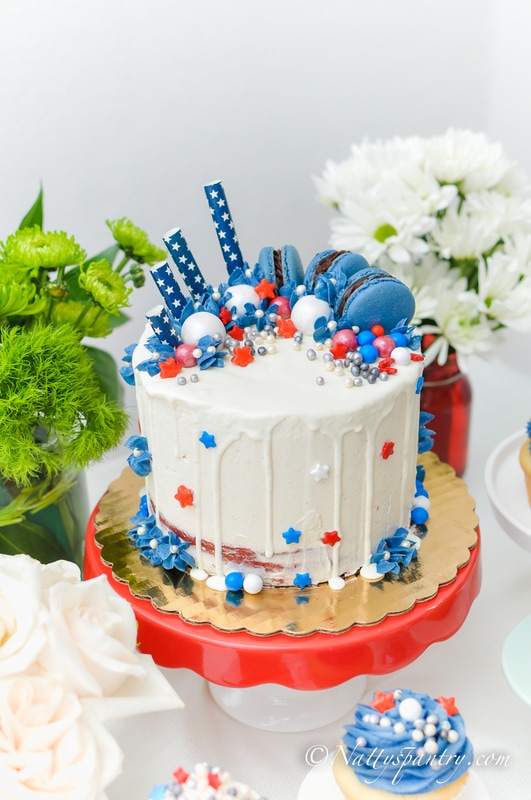
4th of July Red & Blue Velvet Cake Recipe
Author: Nattaya Worrakitpoonpol Adapted from: Cake Merchant MAKES one 2 (or 4) layer 6-inch round cake For the cake: 1 1/4 cups all-purpose flour 3/4 cups sugar 1/2 teaspoon baking soda 1/2 teaspoon fine salt 1/2 teaspoon cocoa powder 3/4 cup vegetable oil 1/2 cup buttermilk, at room temperature 1 large egg, at room temperature 2 teaspoons red gel food coloring 2 teaspoons blue gel food coloring 1/2 teaspoon white distilled vinegar 1 teaspoon pure vanilla extract For the cream cheese frosting: 1 cup unsalted butter softened or at room temperature 1 package or 8 ounces cream cheese, chilled 2 tablespoons milk 1 teaspoon vanilla extract 4 1/2 cups confectioners' sugar Directions For the cake: Preheat the oven to 350 degrees Fahrenheit and line 2 6-inch round cake pans with parchment paper. In a large bowl, sift together the flour, sugar, baking soda, salt, and cocoa powder, set aside. In the bowl of a stand mixer, use the paddle attachment to whisk together the oil, buttermilk, egg, food, vinegar, and vanilla. Add the dry ingredients to the wet ingredients and beat on low until the dry ingredients are just incorporated. Divide the batter into two batters leaving one half in the bowl of stand mixer. Add the red food gel coloring into one half of the batter and let the stand mixer run medium speed about 30 second or until just incorporated. Clean the bowl of stand mixer, then add the remaining batter. Add the blue food gel coloring into the batter and let the stand mixer run medium speed about 30 seconds or until just incorporated. Transfer the cake batter into the prepared 6-inch cake pans and bake for 25-28 minutes, or until a toothpick inserted into the center comes out clean. Let the cakes cool completely before taking them out from the pan. Once the two cakes are cool and you have removed them from their pans, you can leave as is or cut each cake in half lengthwise to make four layers. Cream cheese frosting In the mixing bowl fitted with paddle attachment, beat butter and cream cheese on medium speed until it is light and fluffy. Gradually add confectioners' sugar one tablespoon at a time. Make sure every 1 minute to stop the mixer and scrape down the mixture. Repeat until the confectioners' sugar is all added to the mixture. Add the wet ingredients, gradually pour it over the mixture on low speed for 5 seconds then increase to medium speed until smooth and fluffy. Assemble the cake: Dab the buttercream on the cake stand (2 tablespoons) then put the first layer on top of the cream cheese frosting and cover that layer with frosting. Next add the second layer of cake on top of frosting and repeat this with remaining three layers. Be sure to switch layers alternating between red and blue. Once your cake is assembled, frost the entire cake and place in the refrigerator. This is what is referred to as crumb coat. Have fun and decorate the cake with your own personal style!
0 Comments
|
AuthorHi, I am Natty! And Thank you for stopping by!! I am a foodie girl who has a passion for cooking, exercise and photography. There are so many favorite recipes from my family and friends I have tried throughout my journey that balances out and makes a healthy meal. I would like to take you on a journey to a different pantry around the world to share my favorite stories and recipes. My hope is that they inspire and benefit you. “The Way Get Started Is To Quit Talking And Begin Doing.” -Walt Disney  Categories
|
 RSS Feed